DC to DC Charging: How to Set Up a Van Alternator Charging System
- Oct 26, 2025
By the end of this article, you'll understand how to select, size, and install a DC-DC charger in your DIY van build.
Table of Contents
DC to DC Charging: How to Set Up a Van Alternator Charging System
When you drive your van down the road, the camper van's alternator generates DC power and charges your vehicle's onboard battery. By installing a DC-DC charger, you extend the ability of your van's alternator charging system to charge your auxiliary battery bank.
By the end of this article, you'll understand how to choose a DC-DC charger and have a good understanding of installation considerations.
What is a DC-DC Charger and What is Alternator Charging?
A DC-DC charger is a device that converts DC (direct current) power from one voltage to another voltage, specifically designed to charge an auxiliary battery bank from your vehicle's alternator system. It takes the varying voltage from your alternator (which might be 12-14V) and converts it to the optimal charging voltage for your auxiliary battery bank.
The DC-DC charger implements proper charging algorithms (bulk, absorption, float stages), limits electricity flow, and makes sure the house battery can't drain the starter battery.
Do You Need a DC-DC Charger In Your Camper Van?
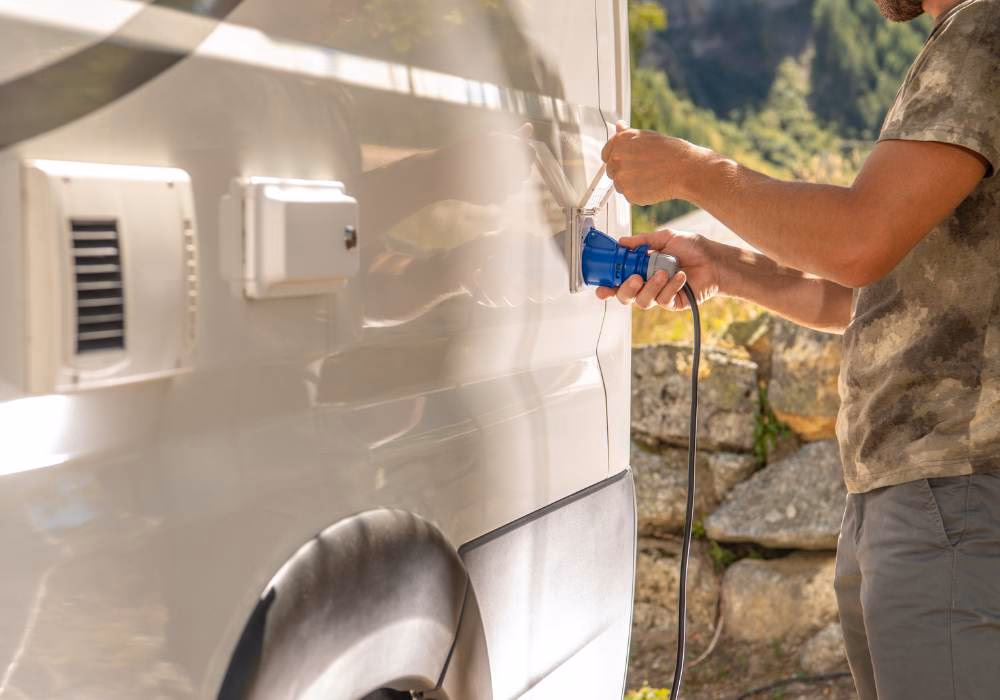
It depends! If you plan to regularly stay in campgrounds with shore power hook ups or if you're okay occasionally losing power and waiting for the sun to charge your battery bank, then you might not need a DC-DC charger. But if you want the flexibility to live completely off grid and you rely on electricity for your livelihood and comfort, then the DC-DC charger is worth considering.
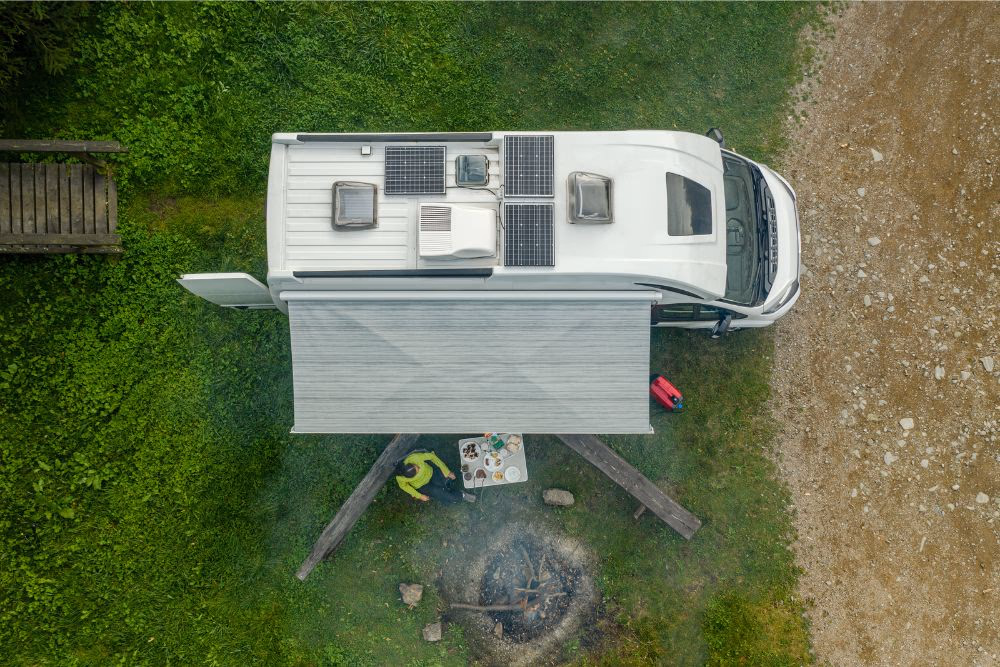
In my personal experience, the solar panels worked for my needs 99% of the time. But in that 1% where I was stuck on a camp site in the shade for a couple days, having the ability to charge my battery bank while driving to the next camping destination helped me keep the lights on and the internet up. So for me, installing a DC-DC charger was totally worth it.
How to Select a DC-DC Charger For Alternator Charging
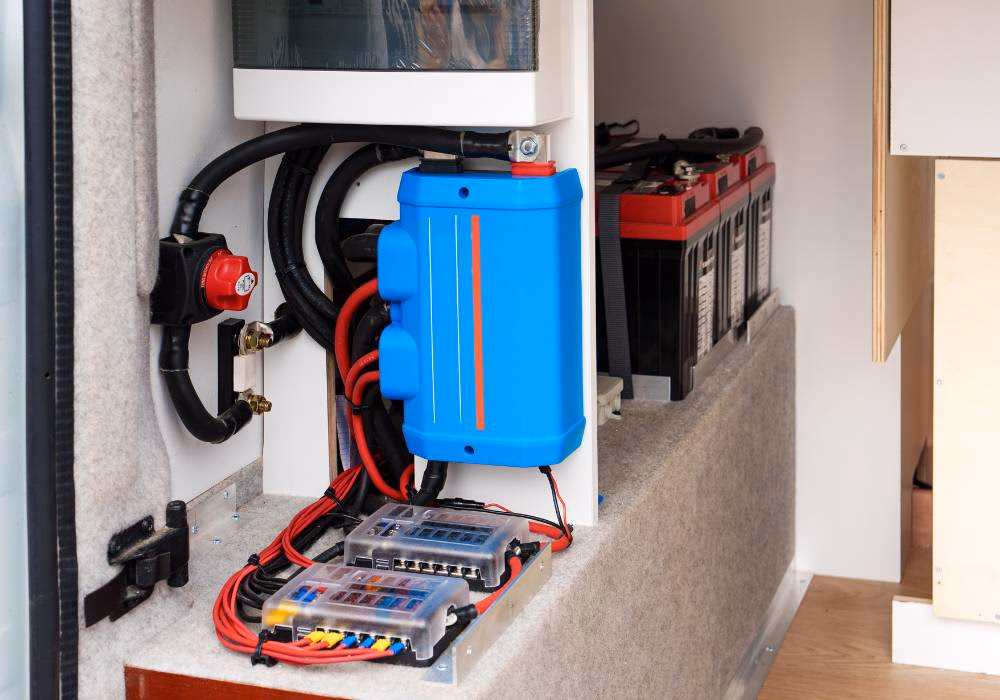
Consider the Victron DC-DC charger pictured below:

You'll notice the following series of numbers: 12 | 12 - 30. This tells us that this model of DC-DC charger takes an input of 12 volts, which is the standard onboard vehicle battery, and optimizes it for a 12 volt auxiliary battery bank. And that it charges the auxiliary battery bank at a current of 30 amps.
You'll also notice the phrase isolated. This is opposed to non-isolated models. In marine and RV settings, the isolated models are considered safer. And this has to do with grounding. Ultimately all ground points in a van do reference the chassis/frame, so the distinction between isolated and non-isolated is less critical than in other applications. Even though everything connects to the chassis eventually, different grounding points can have slightly different voltage potentials due to resistance in the metal, current flowing through the chassis, and long wire runs. This can create ground loops that cause interference with radios, GPS, and other sensitive electronics. Isolation eliminates this.
For a basic vehicle setup with just an auxiliary battery, a non-isolated charger will work perfectly fine and is often the more practical choice. The isolation benefits are real but relatively minor in a simple vehicle application. Personally, I chose a non-isolated model that is grounded via the ground attached to my bus bar. I have not experienced any issues.
What Voltage DC-DC Charger Should You Select For Your Electrical System?
Most van models commonly used for van conversions will have a 12 volt starter battery. So the most likely voltage input model you'll need is the 12 volt input model. Your auxiliary battery bank will likely be either 12 volt or 24 volt, so the charger's output voltage rating will need to match this value.
What DC-DC Charger Charging Current Should You Select for Your Battery Bank?
This depends on your auxiliary battery bank. Ensure your battery can handle the current by verifying that your battery's "Maximum continuous charge current" spec is greater than the DC-DC charger's charging current. Not only that, but you must also factor in the maximum solar charge current, as the solar panels will still be charging while driving down the road. With modern LiFePO4 lithium batteries, this is likely not going to be a limiting factor. But it's always best to verify and understand the ins-and-outs of your electrical system.
What I've seen with my battery bank is that the charge current is divided equally between all batteries. I have four 100 Amp-hour batteries wired in parallel. If I have 40 amps of current going to the auxiliary battery bank, each battery receives a charge current of approximately 10 amps.
Naturally, the higher the charge current, the faster the auxiliary batteries will charge. But, you'll also want to consider the strain on your van's alternator. While charging your auxiliary battery bank via the DC-DC charger, the alternator will work harder than it normally would. There are "beefier" alternator models that you can install, so if you opt for a model over 40-50 amps, consider upgrading your alternator.
Most camp vans have a stock alternator output of 120-180 amps total, and you don't want your DC-DC charger pulling more than 25-30% of that capacity continuously. Running your alternator at high output for extended periods generates extra heat and can shorten its lifespan.
DC-DC Charger Installation Considerations
Installation of a DC-DC charger is actually straight forward. The biggest challenge is running wire from the DC-DC charger to the starter battery.
Each DC-DC charger make and model will vary somewhat, so follow the manufacturer's wiring instructions.
1. Choose a mounting location
Mount the DC-DC charger somewhere with good ventilation, as it generates heat during operation. Many people install it near their auxiliary battery bank to keep wire runs shorter on the output side. Make sure it's protected from moisture and secured firmly.
2. Size your wiring properly
Use appropriately sized wire based on the amperage of your charger and the length of your wire runs. For example, a 40A charger typically needs 6 AWG wire for runs up to 10 feet, or 4 AWG for longer distances. Check the manufacturer's recommendations and wire sizing charts. You'll run into a limitation here, as each model will have a maximum gauge wire that can fit into it. For more information on wire selection, please review our article on Van Electrical Wire Sizing
3. Run wire to the starter battery
This is the trickiest part. You'll need to route wire from your DC-DC charger location (often in the back of the van) to the starter battery under the hood or driver's feet. Look for existing wire passages through the firewall or bulkhead, often near the driver's side. Use rubber grommets to protect the wire from sharp metal edges.
4. Size fuses properly
Install a fuse at the starter battery positive connection. And install a fuse at the auxiliary battery bank positive connection. In both cases, you'll most likely be connecting your wire to a bus bar instead of directly to the battery post. To size a fuse, find the maximum current the wire can carry and multiply this value by 1.25. The fuse should be as close to this value as possible. Consult a wire sizing chart to find the wire gauge current carrying capacity.
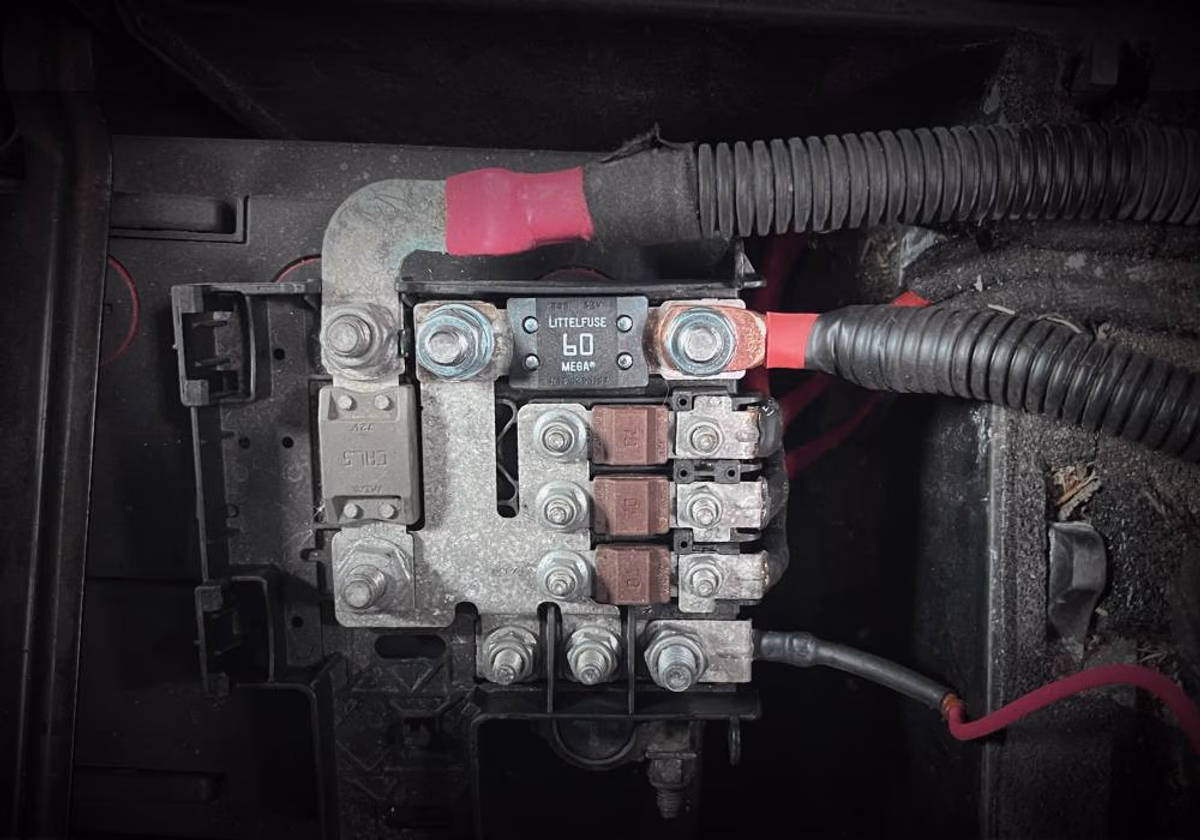
In the picture below, you'll see that the DC-DC charger is attached to the bus bar on the van's starter battery via a Littlefuse-brand 60 amp MEGA fuse. For reference, this is a 2018 Ram Promaster 2500.
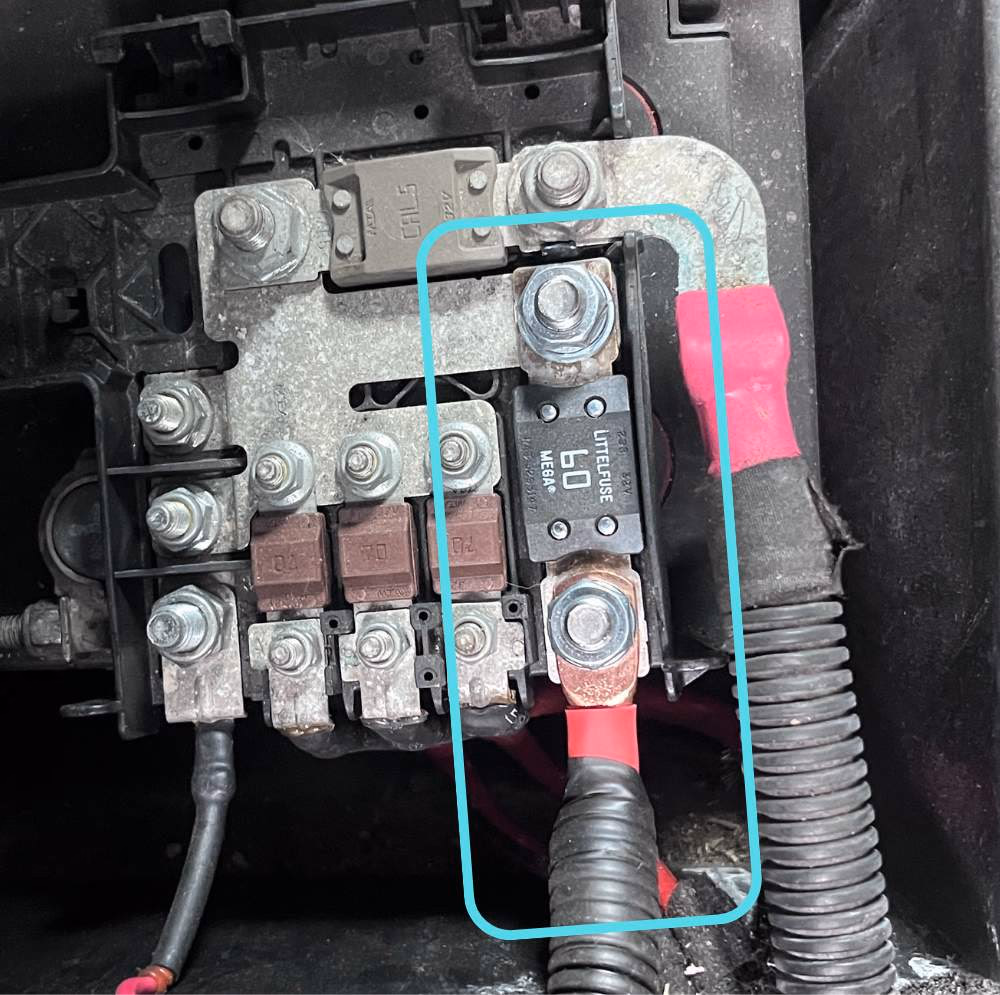
One trick for Ram Promaster owners: The MEGA fuse installation will only work with square head bolts. I used M8 x 20mm fully threaded 304 stainless steel grade machine screws to mount my fuse.
5. Consider installing a on/off power switch
In most models, it's optional to utilize the exciter wire functionality. The exciter wire is a connection for a small gauge wire that, when it receives power, tells the DC-DC charger that the vehicle is running. Once the DC-DC charger knows the vehicle is running, the DC-DC charger will activate and begin charging the auxiliary battery bank. It's useful to be able to manually manipulate this state. For instance, if the vehicle is idling while the DC-DC charger runs, you will diminish the life of your van's alternator. With a manual on/off switch, this can easily be avoided.
To install an on/off switch for a DC-DC charger, the most common and straightforward method is to place the switch inline on the exciter wire. In my case, I found a cigarette lighter on the dash that only turned on when the vehicle ran. I cut the wire powering the cigarette lighter, wired the negative and positive wires of the cut wire to the rocker switch, and wired the remaining positive tag of the switch to the DC-DC charger exciter wire.
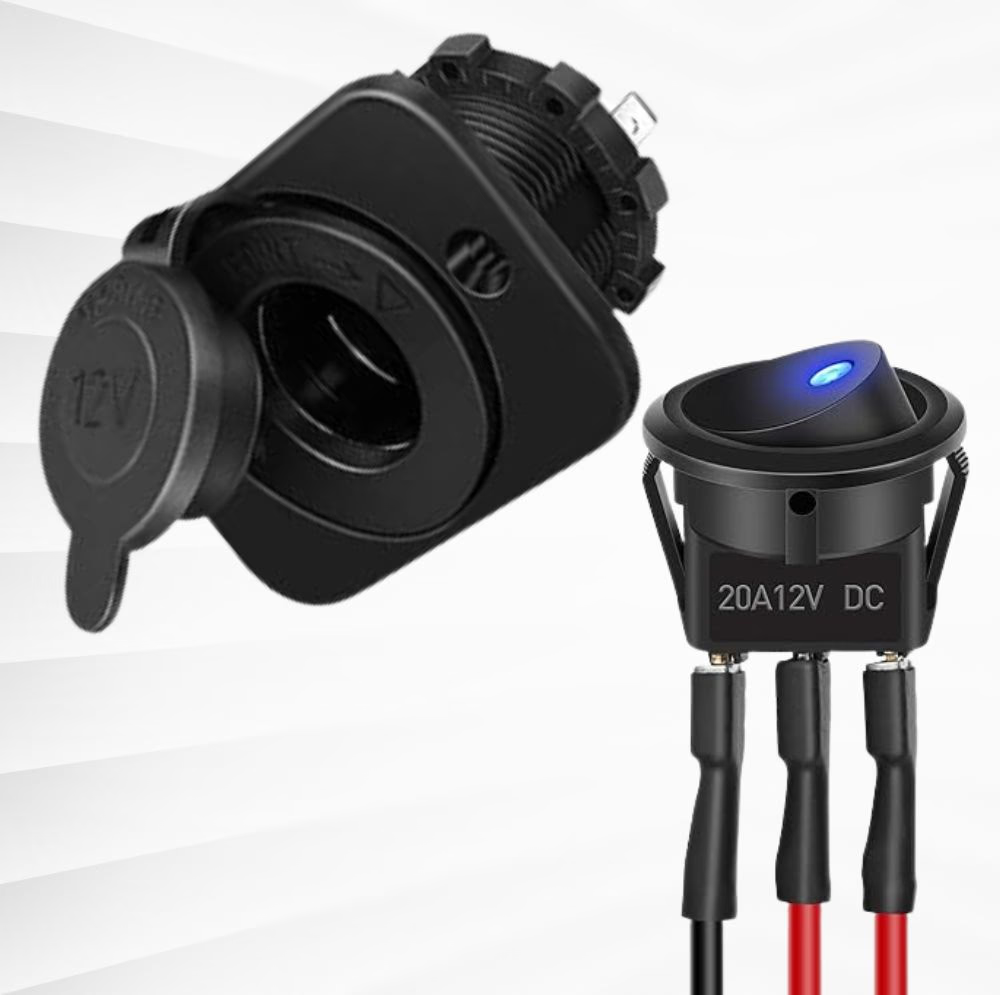
I found that by combining the cylindrical housing and the rocker switch pictured below, I had a ready made solution that perfectly fit the hole in the dashboard left by the cigarette lighter. The rocker switch housing fit perfectly into the hole left by the removed cigarette lighter receptacle.
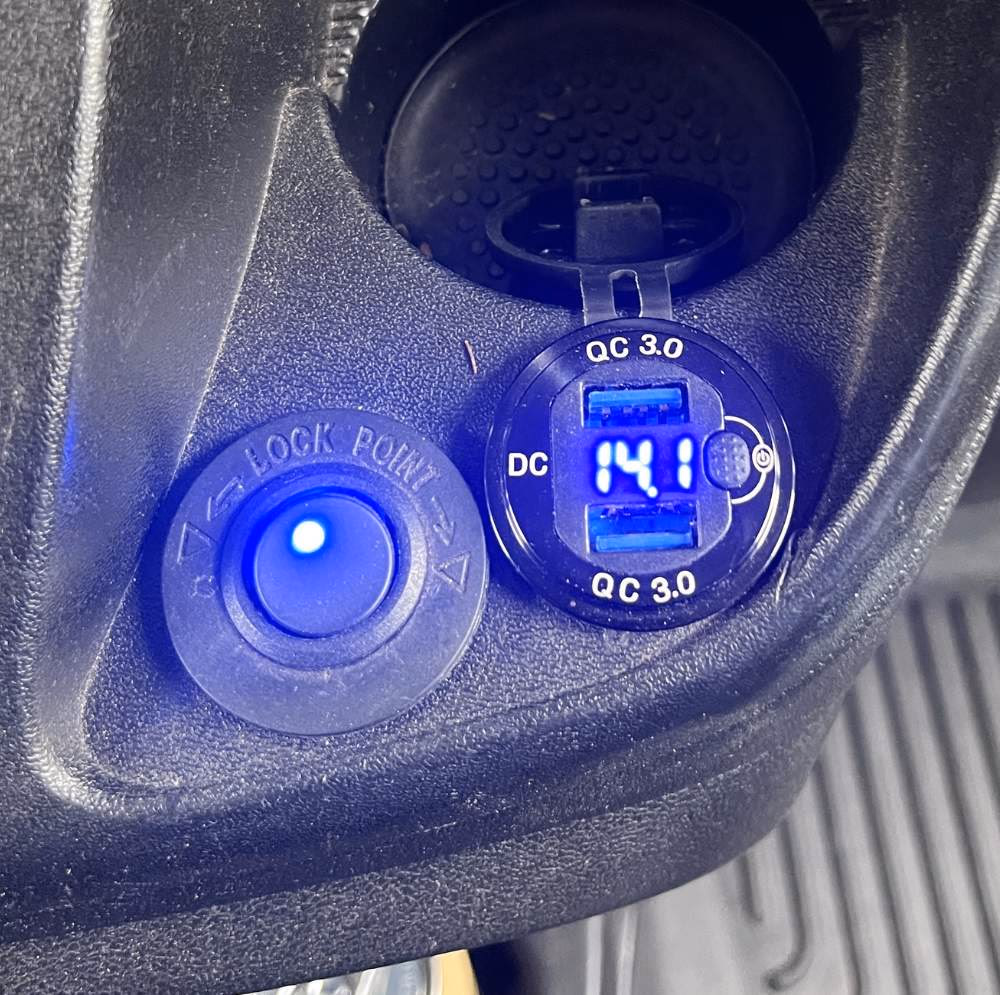
So now I have a switch easily accessible on the dash that allows me to manually control the DC-DC charger state.
Once your DC-DC charger is successfully installed, you'll have the peace of mind of knowing you can charge your battery bank even when the sun fails you.
More Electrical Installation Articles
For more articles on your van's electrical installation you can find more Electrical articles here.