Size Your Van's Solar & Battery System Perfectly the First Time
- Aug 1, 2025
Learn the exact calculations to size your battery and solar system right the first time—no $2,000 mistakes or dead batteries at 2am.
Table of Contents
- Begin By Determining How Much Power You Will Use Daily
- How to Determine How Much Energy an Electronic Device Consumes
- Add Up Your Energy Demand to Determine Total Amp-Hour Requirement (And Don't Forget to Multiply By a Safety Factor)
- How To Size Your Battery Bank and Solar Array Based On Your Energy Demand Estimate
Size Your Van's Solar & Battery System Perfectly the First Time
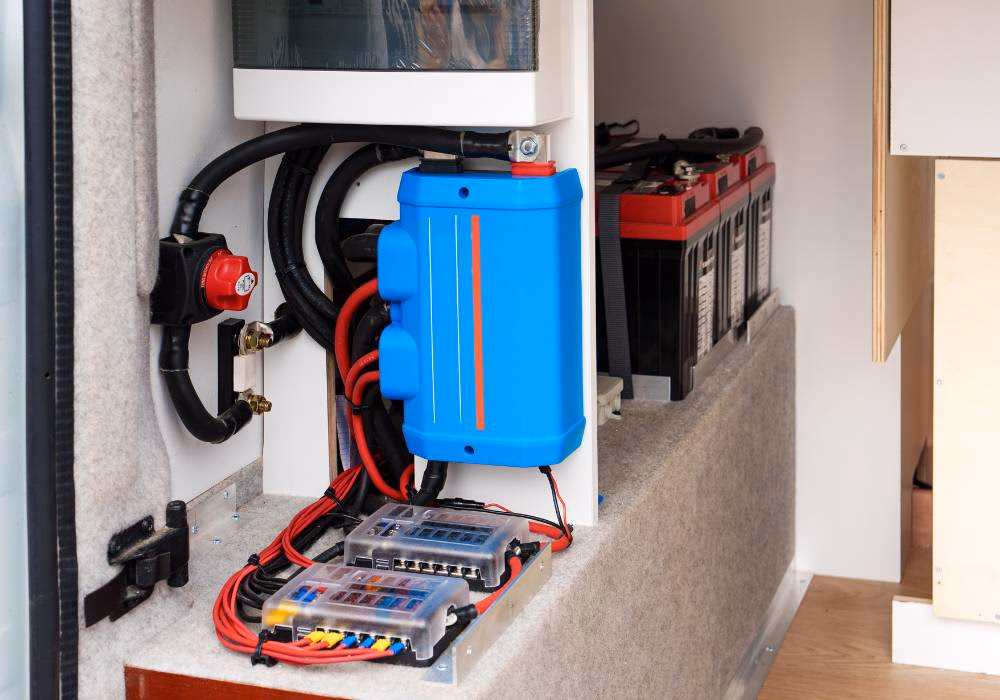
You’ve probably already figured out that your DIY van build should start by installing an electrical system. This makes sense because it’s easiest to run wires when the van interior is still bare. But installing an electrical system is daunting. There’s a steep learning curve and the stakes are high. Not only can faulty wiring cause a fire, but the components of the electrical system are some of the most expensive you’ll purchase during your van build. So selecting the wrong components or sizing the battery bank wrong can lead to costly upgrade down the road.
So where should you begin when designing your camper van's electrical system? How do we know how many batteries to install? And what type? And what about solar panels? Do we need more than one? How many watts should they be?
If this sounds like where you’re at right now, then this article is for you. You’re in the design phase of your electrical build. This is where you map out exactly what electrical components you need. And the very first step in this process is determining exactly how much power you will consume every day you're living in your van.
By the end of this guide you'll understand how to properly size your battery bank and solar panel array to meet your daily energy requirements.
Begin By Determining How Much Power You Will Use Daily
Take an inventory of your electronics usage. Write a list of every device you will take with you on the road: laptop, cell phone, Wi-Fi hotspot, etc. Add every device you will install in the van, such as lights, outlets, and refrigerator. Decide now if you’ll cook on an induction stove top, install an air conditioner, or plug in an electric water kettle. Now is the time to select the specific model you will install.
For your convenience, I've created this free spreadsheet template for you to keep track of your device list: Van Electrical Device List
Once you have your list, you have to find out the exact amount of energy each item uses.
How to Determine How Much Energy an Electronic Device Consumes
Before you can find the amount of energy each item uses, you’ll need some familiarity with these electrical terms:
Voltage (V)
Voltage can be thought of as pressure coming from a power source. The higher the voltage, the greater its ability to "push" more electrons and do work.
For our purposes, we must know from what power source we plan to power each device on our list. We are likely to have only two options:
- Auxiliary Battery Bank: 12 Volts (can be 24V if designed as such)
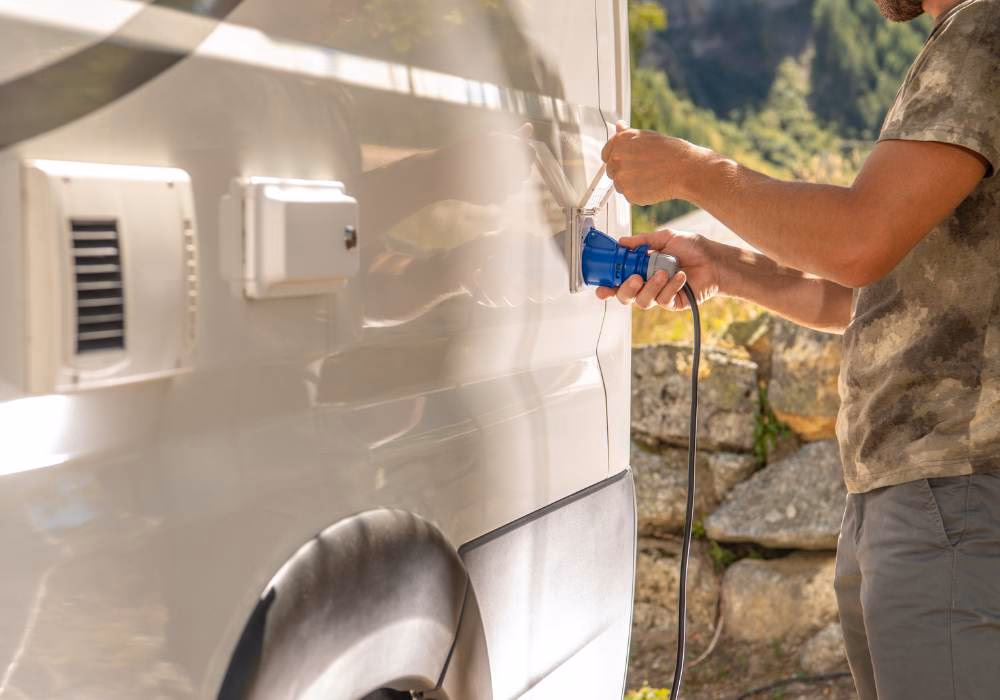
- Household Outlets: 120V (powered through an inverter or shore power, standard for USA homes)
Watt (W):
A unit of energy transfer used to quantify electrical power.
For our purposes, we must find out how many watts each of our devices consumes while powered.
Watt-Hour (Wh):
A measure of the total amount of energy consumed or produced over an hour.
For example, if we have a 50 watt charger that we estimate we'll have plugged in ten hours per day, that appliance will consume 500 Wh of energy per day. We calculate it like this:
\text{ 50W } \times \text{ 10h } = \text{ 500Wh } Portable power stations like Goal Zero tend to advertise their storage capacity using the Watt-hour value.
Amp (A):
An amp is the base unit of electric current used to quantify the flow of electricity.
Amp-Hour (Ah):
A measure of the total amount of amps consumed over an hour.
For example, a battery rated at 100 Ah can supply 1 amp of current for 100 hours or 100 amps for 1 hour. So if we have a device that consumes six amps that runs for four hours, we calculate Amp-Hours like this:
\text{ 6 Amps } \times \text{ 4 Hours } = \text{ 24 Amp-Hours } Modern LiFePO4 Lithium Batteries are rated in Amp-Hours, so we will ultimately convert our power consumption estimate to Amp-Hours.
As we move forward with filling out our device list, it is important we write down the watts consumed, the voltage we will power the device with, and the estimated amount of time we will power the device each day.
If all this feel like too much mathin' for you, use our calculator:
Electrical Calculator
Select the value you want to calculate, then enter the required inputs.
Formula Used:
Go ahead and bookmark the calculator page, while you're at it. You'll be going back to it again and again throughout your design process. Amperage Calculator
Use a Watt Meter
So how do we know exactly how much power our electronics use? The simplest approach by far is the Watt Meter.
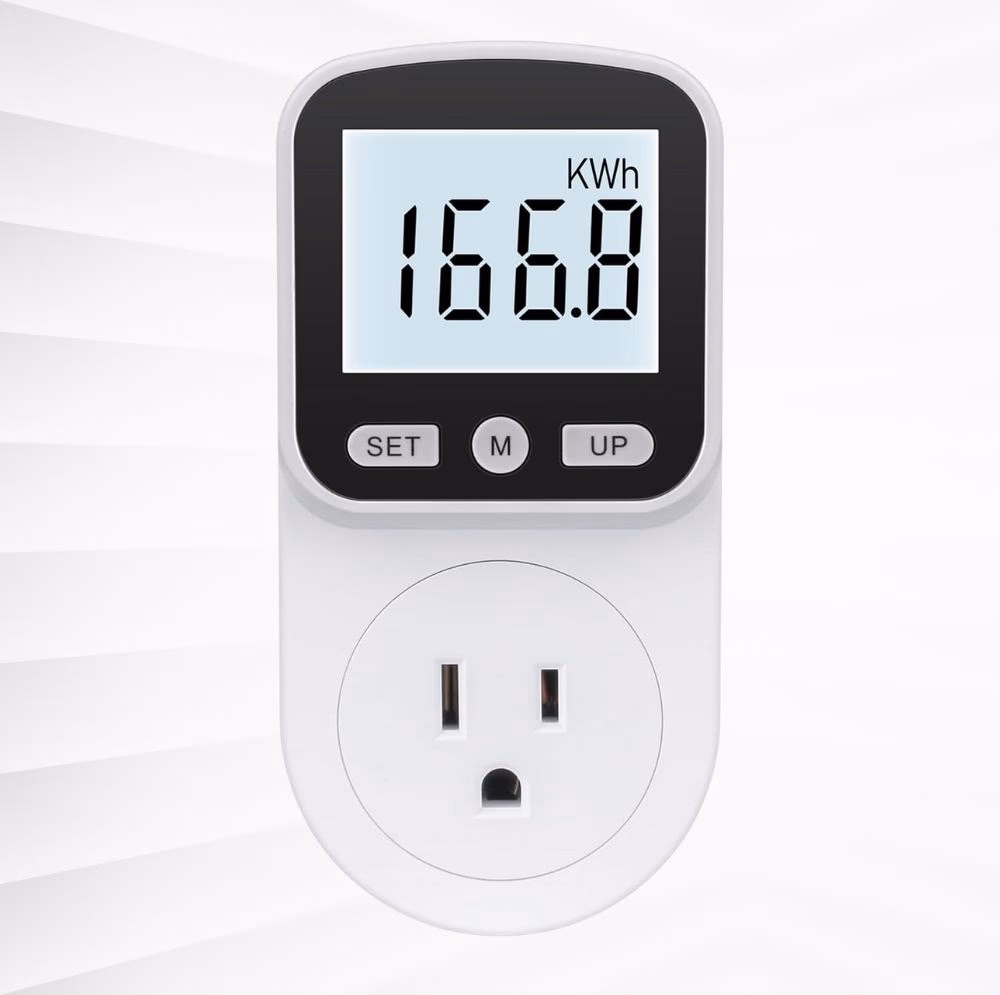
A watt meter measures the power consumption of anything plugged into it.
To estimate my energy needs, I plugged a Watt Meter into the wall. Then I added a power strip to it and used the power strip with all the electronics I planned to take on the road with me. I used the power strip like normal for about a week. By that time, I had a pretty accurate daily average of my energy demands.
For devices I did not already have on hand, like my Dometic 12V refrigerator, I went on to the next step.
Consult Manufacturer Specifications
For the items you don’t have on hand just yet, like your refrigerator or induction stove, you will be able to find the energy demand in the manufacturer’s technical specifications. This might be found in a PDF download or product description directly on the manufacturer website.
Let's take a look at the product specifications for a Dometic-brand refrigerator that we will power off our 12V battery bank:
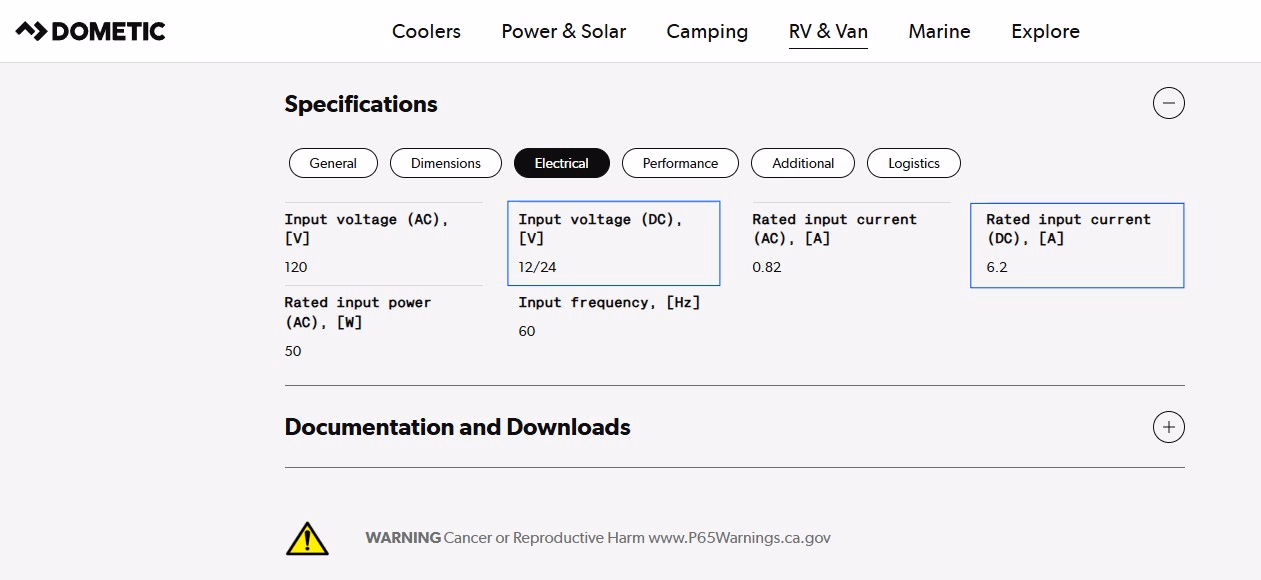
Here we see that the fridge can be powered off 12V or 24V DC power, so it will work with a standard LiFePO4 Lithium battery. And the "Rated input current (DC)" refers to the expected current draw under normal operating conditions — not necessarily the maximum, and not necessarily the minimum. So to figure out how many watts the fridge uses, we need to calculate the watts using this equation:
\text{ Power (W) } = \text{ Voltage (V) } \times \text{ Amps (A) } \text{ 12 V } \times \text{ 6.2 A } = \text{ 75 W } We then estimate how long the fridge will run per day. Technically, it's powered all day. So theoretically, it could run 24 hours a day. Here is how to calculate that:
\text{ 75 W } \times \text{ 24 Hr } = \text{ 1,800 Wh } Will the fridge be pulling 6.2 Amps all day? No. In reality, it will only run intermittently. In my van, this time really depends on the ambient temperature and how often I open the fridge. Practically, it might run two hours per day. But that is an estimate. It's up to your personal comfort level to adjust this hour value. To add a safety margin, I used an estimate of four hours. So here's how I estimated the energy demand for my fridge:
\text{ 75 W } \times \text{ 4 Hr } = \text{ 600 Wh } Or
\text{ 6.2 A } \times \text{ 4 Hr } = \text{ 25 Ah } Check the Charging Cables
If you look at a laptop charger, you'll see a value labeled AC Input. This will often have two values. First, the AC voltage range that the charger can accept. And the maximum amperage the charger will draw. The amperage value is what we will need to convert to Watts. We do this by making the following calculation:
\text{ Power (W) } = \text{ Voltage (V) } \times \text{ Amps (A) } So if we plan to power the computer off of 120V outlet, and the maximum amperage is listed as 3.5 Amps, the calculation is as follows:
\text{ 120 V } \times \text{ 3.5 A } = \text{ 420 W } And if we plan to have the computer plugged in for eight hours per day, we see below that the maximum watt usage will be 3,360Wh:
\text{ 420 W } \times \text{ 8 Hr } = \text{ 3,360 Wh } Or
\text{ 3.5 A } \times \text{ 8 Hr } = \text{ 28 Ah } Because this is the maximum possible power consumption, it is not considered an accurate value. Our laptops are not always charging at max power when plugged in. For an accurate estimate, I recommend getting an average power consumption value by plugging in the computer to a Watt Meter.
Add Up Your Energy Demand to Determine Total Amp-Hour Requirement (And Don't Forget to Multiply By a Safety Factor)
Once you have completed your inventory and come up with a complete estimate in Amp-Hours, it’s time to account for unplanned future needs and add a safety margin. We do this by multiplying our estimated Amp-Hour total by a factor of 1.5 to 3. In my case, I multiplied my estimated power consumption by a value of 2.5. I chose this number because going without power was not an option, as my livelihood on the road depends on a stable internet connection—which requires adequate electricity at all times. And should a stormy week affect my solar input, I have provided myself with an adequate power reserve.
We recommend multiplying your power needs estimate by some safety factor between 1.5 and 3.
If you don’t mind occasionally waiting on the sun to charge your batteries or driving around so a DC-DC charger can charge your battery bank via the alternator as you drive, then you're fine using a lower safety margin. But if you’re like me and your career demands stable internet, apply a larger safety margin to account for those cloudy days when solar won’t fully recharge your batteries.
Now that you understand how to find the energy consumption for your van's electrical devices, you can use our Energy Demand Calculator to do much of the work for you:
How To Size Your Battery Bank and Solar Array Based On Your Energy Demand Estimate
Now that you understand your energy needs, you can confidently size your battery bank and solar array.
Sizing Your Camper Van's Auxiliary Batteries Based On Energy Demand Estimate
LiFePO4 Lithium batteries have emerged as the best option for van builders. Lithium battery manufacturers advertise their storage capacity using the Amp-hour value. So we simply size our battery bank to match our Amp-Hour estimate as near as we can.
Let’s say you’ve determined you require 390 Amp-Hours per day. We can confidently plan to install four, 100 Amp-Hour or two, 200 Amp-Hour batteries.
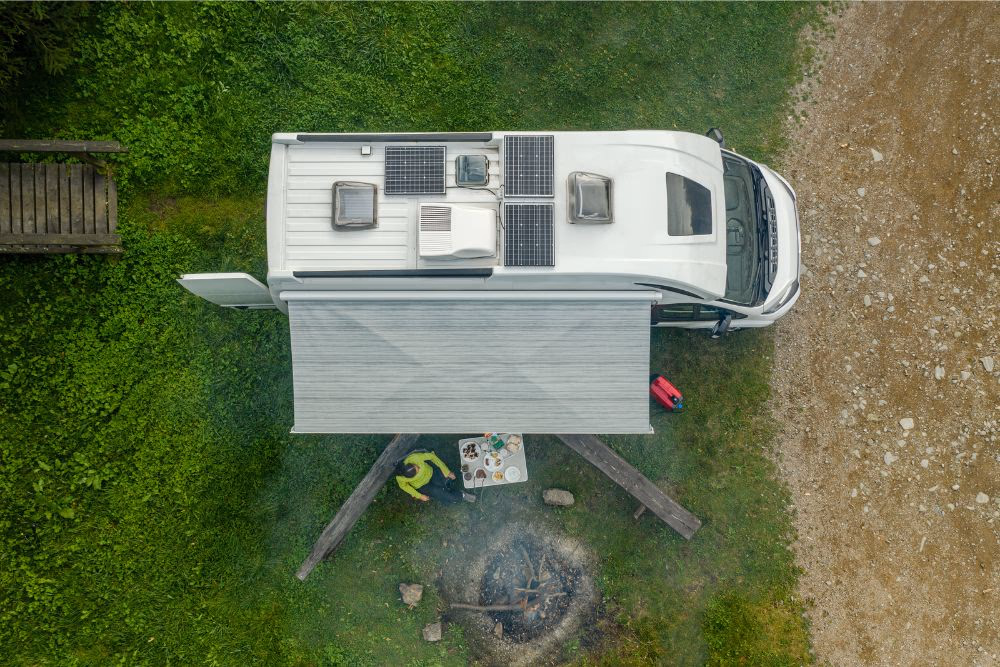
Sizing Your Camper Van's Solar Panels Based On Energy Demand Estimate
And to size our solar panel array, as a rule of thumb, we want to have one watt of solar power per Amp-Hour of battery capacity. So we would plan to mount two, 200 Watt solar panels on the van's roof. This way, our solar panel array would equal 400W, which would match our 400 Amp-Hour battery capacity.
Moving Forward From Here
Now that you have a device list and understand how many amps each device will draw, you can begin drawing a wiring diagram. The following articles will help you in this crucial step:
For information on sizing your wires, please see our article Sizing Wire For Your Van Build: A Beginner's Guide
And for more information regarding solar installation, please review our article, Camper Van Solar Installation Guide For Complete Beginners